Several years ago, I came across a treasure. Someone was throwing out a 1978 Barbie A Frame Dream House. It had been sitting in the sun for what looked like years. The doors and windows were all missing. It was just the external shell, faded and filthy. I couldn’t pass up the opportunity to have the house of my childhood dreams, so I brought it home where it sat….for years. It is finally getting a makeover.
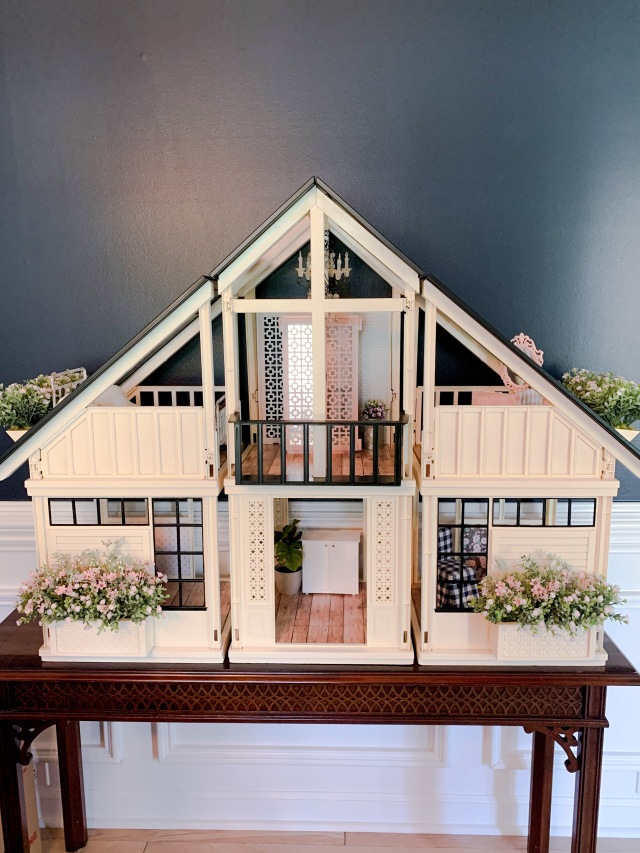
There is still a lot to do, but how about a tour? Right this way…Everything was painted Krylon’s Modern White. It was a perfect match to the original off white post and walls, so if you want to preserve the original look of the house you could definitely use it for that. I painted the yellow floor pieces that color as well. 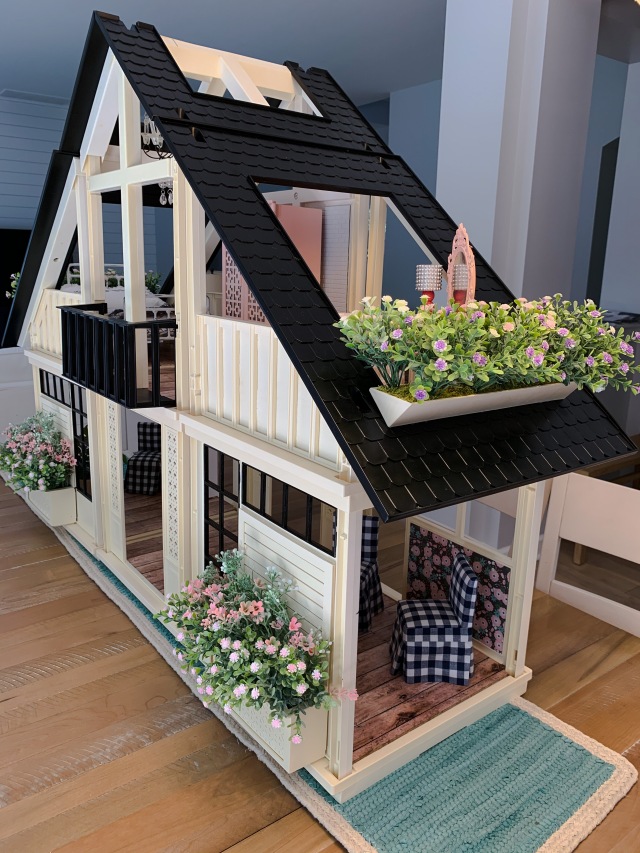
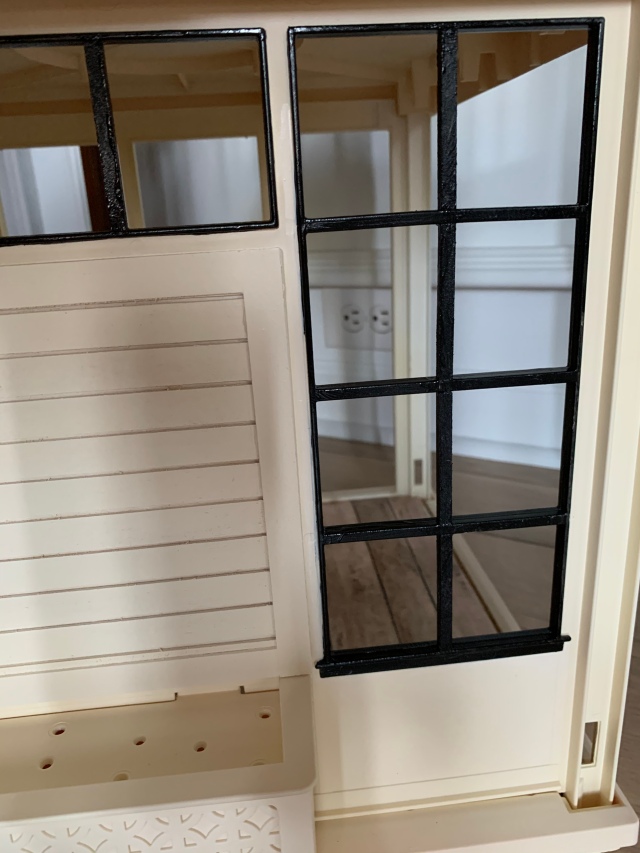
The roof, balcony, and trim around the windows were painted black with a satin finish. I didn’t want anything too glossy. I added a little detail to the windows (not sure if you call them mullions, or muntins, or grilles) since all of the original window pieces were gone.
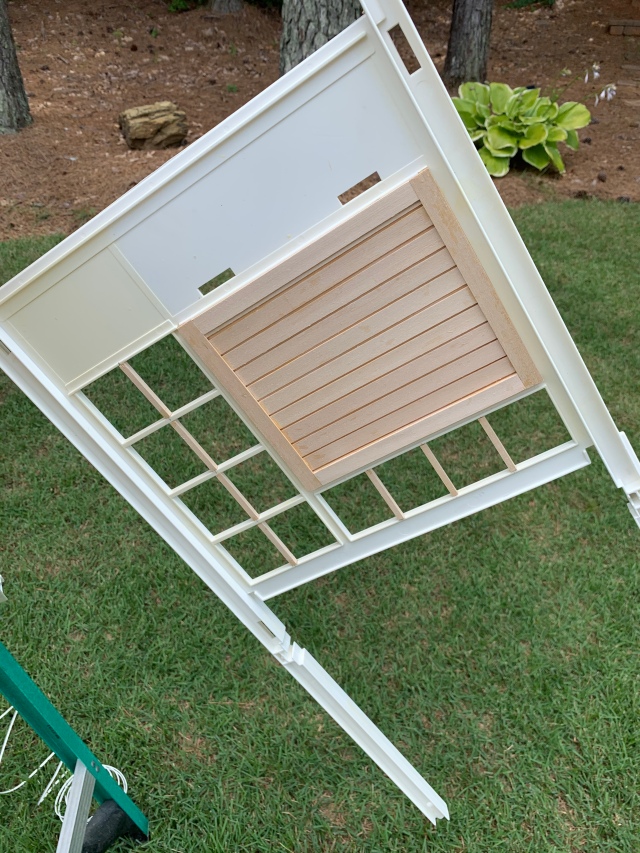
You might notice that I also added some shiplap over the original diagonal siding. Here’s how that went:

I glued basswood to the original structure, then glued 5/8” wide strips of basswood to that, using little scraps of wood to keep my spacing consistent. After that, the entire section was trimmed around the edges to give it a framed effect.
Here is the completed wall section, hanging upside down, in my backyard, waiting for a coat of spray paint.

Since the original closet bump out was missing, I covered the opening with some decorative sheet metal framed with narrow basswood strips. The other side was covered with faux brick on both the interior and exterior walls. Everything was painted the same Modern White.
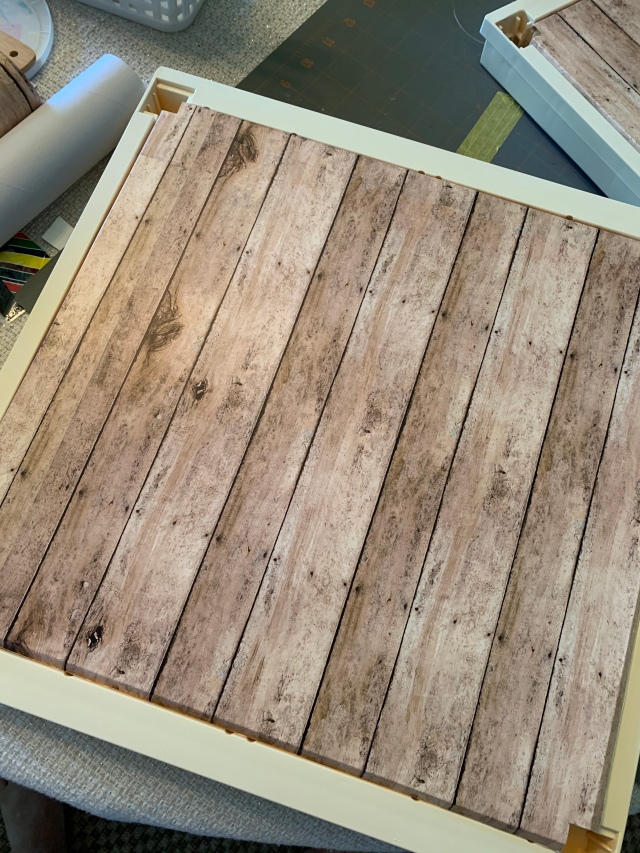
The floors, which were painted, needed a little help. The floor pieces are textured and so I couldn’t simply peel and stick this adhesive vinyl directly to them. Poster board was cut to fit the area, with extra at the edges to fold over into the grooves. The adhesive vinyl was then applied to the poster board and then those pieces were slipped into place over the floor sections.
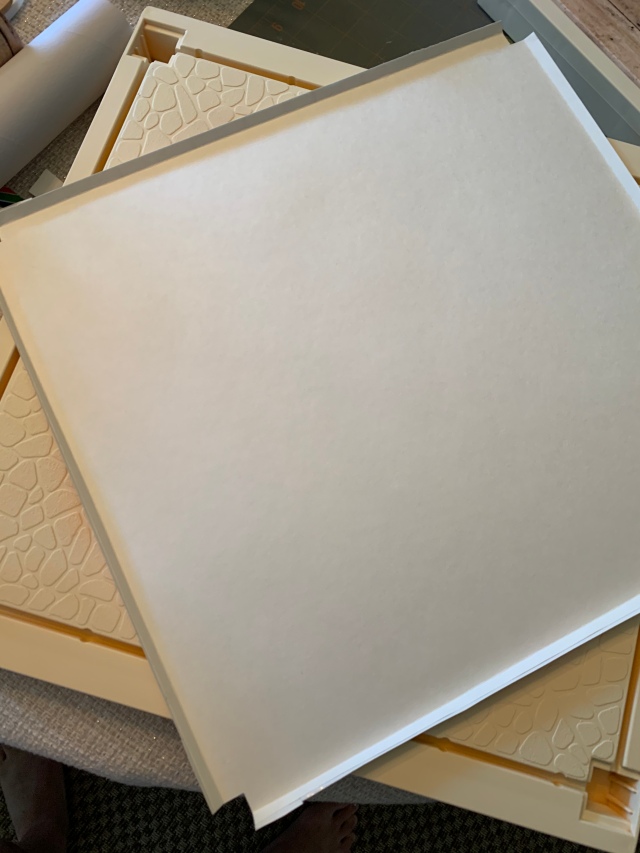
Here’s the cardboard.


Here’s the vinyl, which was attached to the poster board. Corners were notched out.


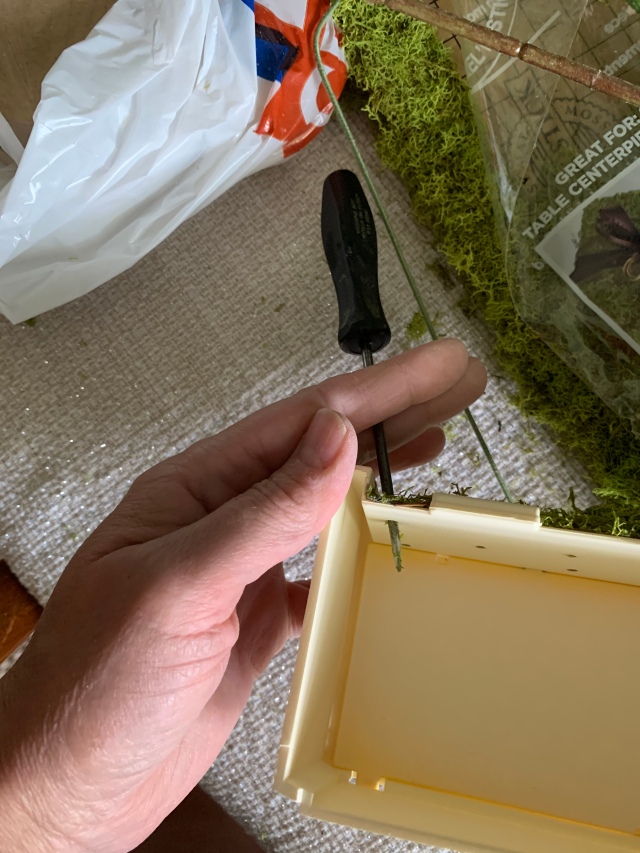
The house was ready to assemble at this point. The flower boxes for the fronts and roof sections needed a little help. The adhesive Mossy Mat from the craft store added a little extra detail to base of the flower boxes.


An awl was used to puncture holes through the moss mat to allow the new flowers to be fitted into the boxes.
The flowering ‘shrubs’ were added and the boxes reattached to the structure.


A chandelier Christmas ornament was added to the second floor peaked ceiling, suspended from a paper clip.


There is still a lot of work to be done. Doors need to be made for the front and back doors. The balcony needs doors or windows as well. It is a work in progress, but it is starting to look the way I had envisioned all those years ago. I hope you like it! Thanks for reading!

I like what you have done. Looking at the photos is like watching HGTV, doll house edition (smile).
I am looking forward to seeing how the house takes shape.
prettiest barbie house I have seen yet
You’re so kind to say that. Thank you!
I love what you have done. You have excellent taste and talented skills.
Aw! You’re so kind! Thank you – you made my day!
This is gorgeous! Will definitely be using this as inspiration. (Just picked one up this week for $35. I’d like to clean it up and modernize.)
Can I ask where you found the bed? I love the simplicity of it. Looks great with your house.
Congratulations on your ‘new’ Dream House! Have fun cleaning it up and making it your own. Regarding the bed, I bought this from Dream Come True Beds on Etsy. It’s so beautifully made that it is worth the price. Hope this link works for you:
https://www.etsy.com/shop/dreamcometruebeds?ref=simple-shop-header-name&listing_id=476030903
My mom just picked up one from the trash, and found your page on Pinterest. Where are going to renovate it, hoping to have it look somewhat like yours. You did such a wonderful job!!!
Oh, thank you! Have fun renovating!!!
I am very much enjoying reading your blog. This Barbie house definitely went to the right person. So far it all looks fabulous. I would also love to have one of these someday!